
Here we will discus how to use GitHub Copilot extention in visiual studio Code a step-by-step guide on how to use Copilot in Visual Studio Code :
Step 1: Install Visual Studio Code First, make sure you have Visual Studio Code installed on your computer. If you don’t have it already, you can download it from the official website (https://code.visualstudio.com/).
Step 2: Install the Copilot Extension Once you have installed Visual Studio Code, you can install the Copilot extension by following these steps:
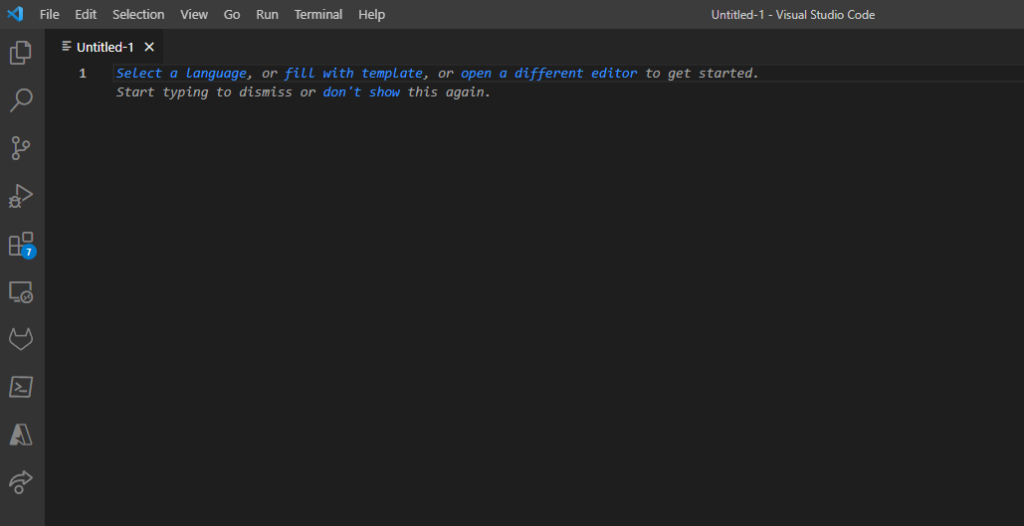
- Open Visual Studio Code.
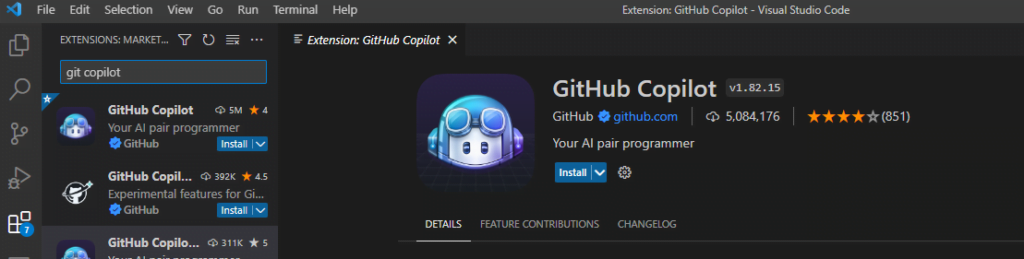
- Click on the Extensions icon in the sidebar (or press Ctrl + Shift + X).
- Search for “GitHub Copilot” in the search bar and click on the “Install” button next to the extension.
- Wait for the extension to install, then click on the “Reload” button to activate the extension.
Step 3: Set Up Copilot in Visual Studio Code Before you can start using Copilot, you need to sign in to your GitHub account and generate an API key. Follow these steps to set up Copilot:
- Click on the Gear icon in the bottom left corner of Visual Studio Code.
- Click on “Settings”.
- In the search bar, type “GitHub Copilot“.
- Click on “Edit in settings.json” under “GitHub Copilot: Api Key”.
- Add your GitHub API key to the “GitHub Copilot: Api Key” field.
- Save the changes and close the file.
Step 4: Create a New Project Now that you have Copilot set up in Visual Studio Code, you can start a new project. Follow these steps:
- Click on the “Explorer” icon in the sidebar (or press Ctrl + Shift + E).
- Click on “Open Folder”.
- Choose a location for your project and click “Select Folder”.
- Create a new file by clicking on the “New File” button in the top left corner of the window.
- Give the file a name (e.g. “main.py”) and press Enter.
Step 5: Use Copilot to Write Code Now that you have a new project set up in Visual Studio Code, you can use Copilot to help you write code. Here’s how:
- Open your new file by clicking on it in the Explorer.
- Start typing some code (e.g. “print(‘Hello, world!’)”).
- Press Ctrl + Space to trigger Copilot.
- Copilot will suggest a code snippet based on the context of what you have typed.
- Choose the suggestion you want by clicking on it or using the arrow keys to navigate and then pressing Enter.
- Copilot will insert the code snippet into your file.
Step 6: Test Your Code After using Copilot to write some code, it’s time to test it out. Here’s how:
- Save your file by pressing Ctrl + S.
- Open a terminal by clicking on the “Terminal” icon in the sidebar (or pressing Ctrl + Shift + `).
- Run your code by typing “python <filename>” (e.g. “python main.py”) and pressing Enter.
- Your code should run and output the results in the terminal.
Step 7: Repeat and Refine Now that you have the basics of using Copilot in Visual Studio Code down, you can repeat these steps to write more code and refine your project. Copilot will continue to suggest code snippets based on the context of what you are typing, helping you to write code faster and more efficiently.
In conclusion, using Copilot in Visual Studio Code can be a powerful tool for students working on programming projects. By following these steps, you can get started using visiual studi code with GitHub Copilot


